

Abyssal Dungeon Reset Lost Ark
Lost Ark: Oreha Preveza Abyssal Dungeon Raid Guide
At that place's a lot to larn ahead of time in social club to articulate Lost Ark'south Abyssal Dungeon, Oreha Preveza, without issue, so let'south go over it all.
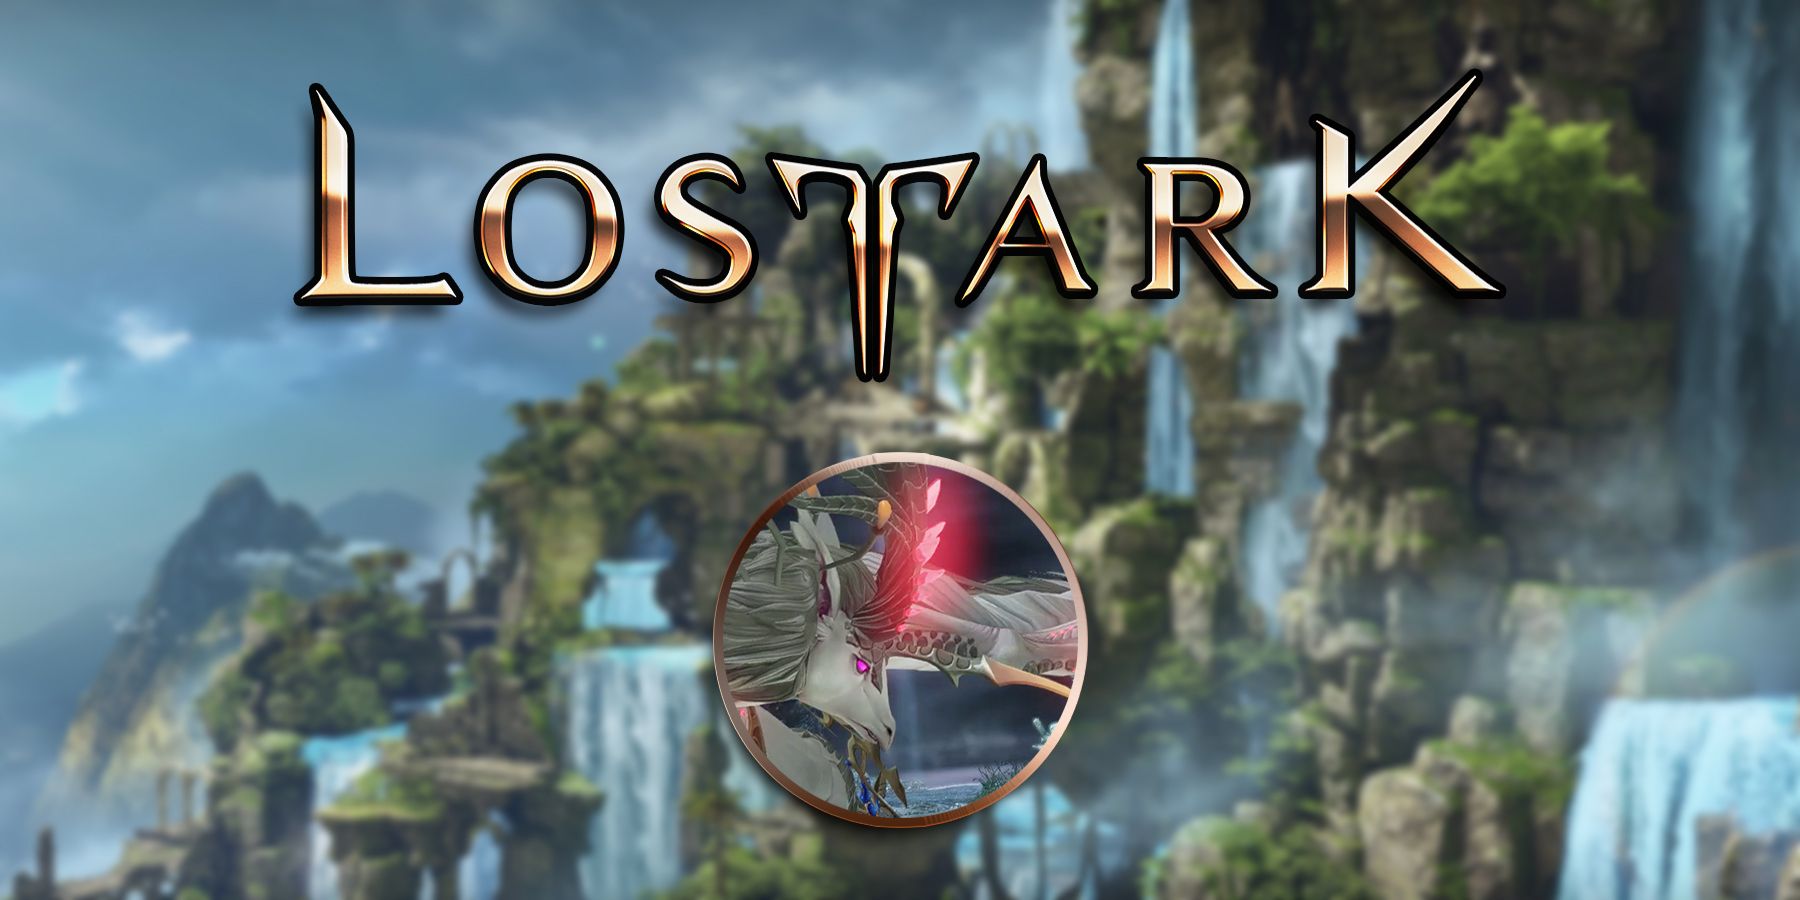
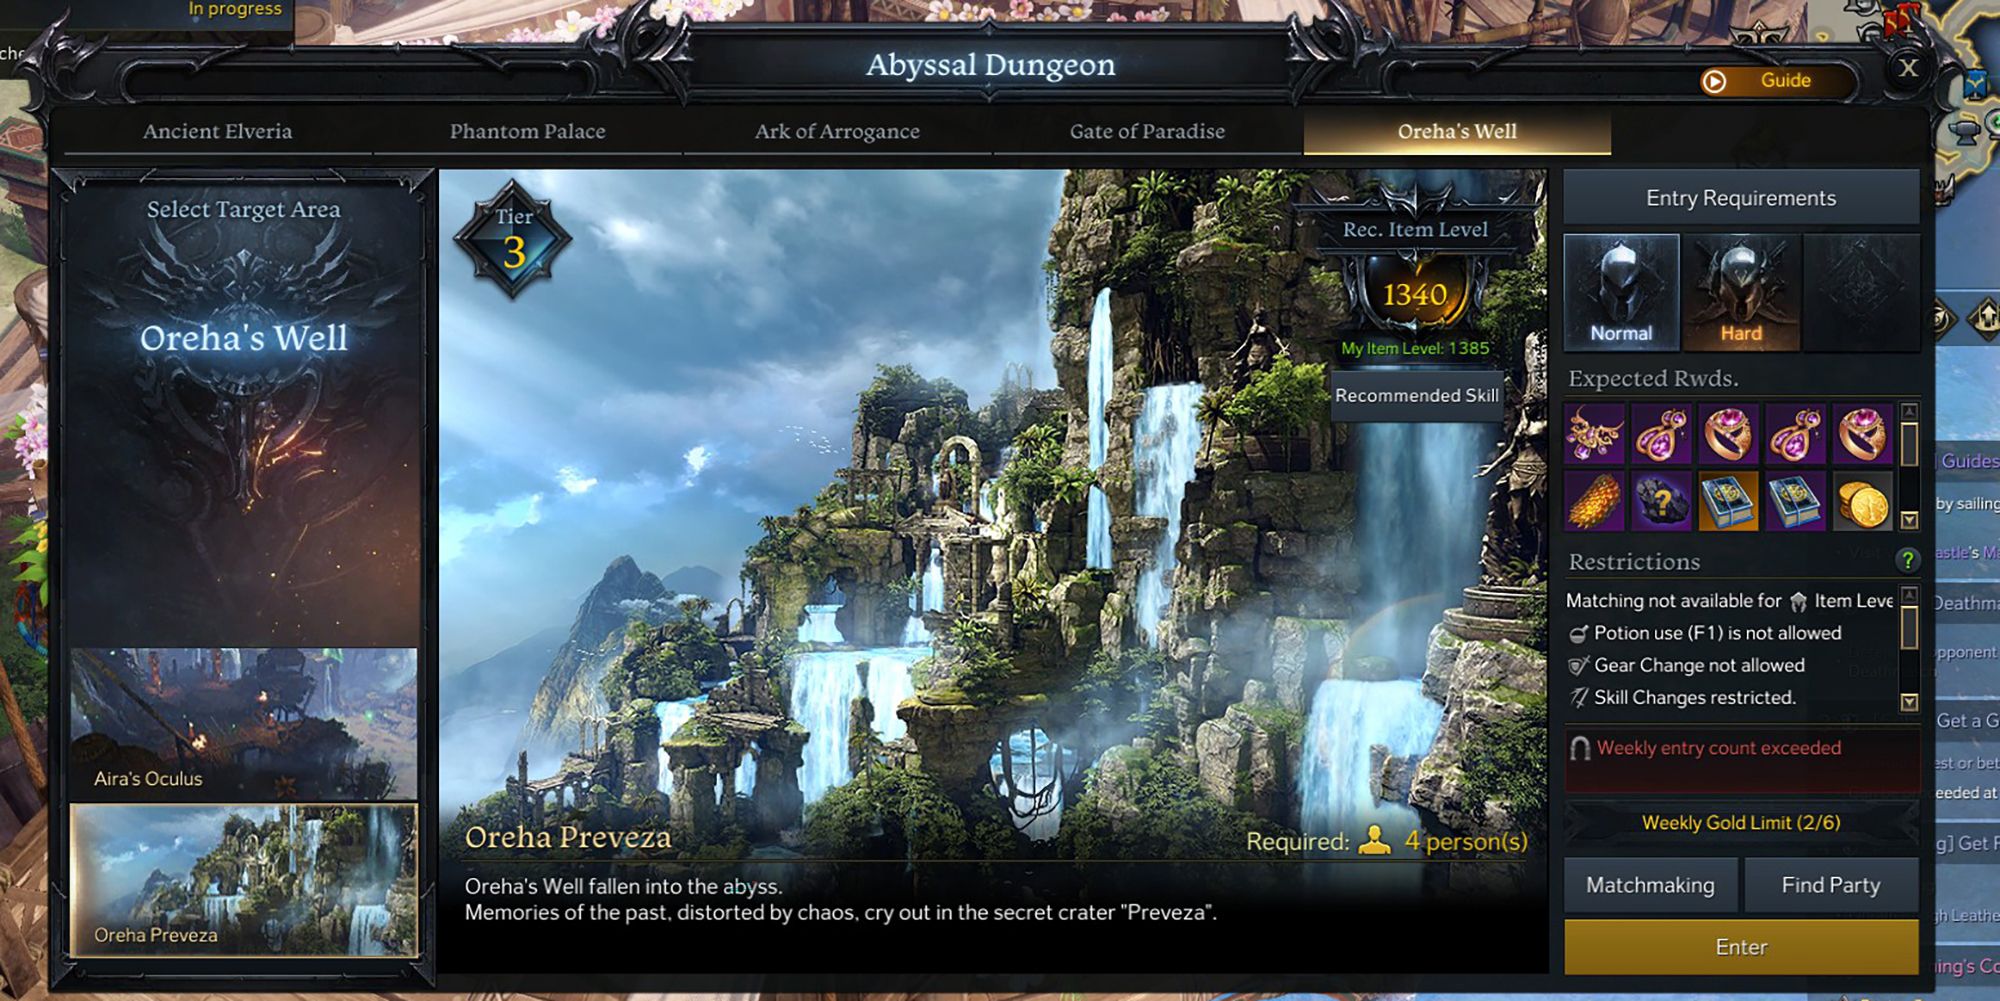
Finally, Lost Ark players who have made it hither have reached the end of the current Abyssal Dungeon content in the game. Oreha's Well is the only Tier iii Deep-sea Dungeon at the moment and its second level, Oreha Preveza, is thankfully pretty fun to repeat since players volition be clearing information technology over and over once again to assist in their slow climb into the Particular Level 1400s, and a lot of the Battle Pass missions should get unintentionally cleared while doing so, which is an extra bonus.
While Aira's Oculus was a 1325 Item Level minimum, Oreha Prevaza is 1340, and thursdaye Legendary Gear players can craft from the materials dropped from the bosses should show useful until 1370. Lost Ark players can expect to fight two Bosses in this dungeon, the Angry Moguro Captain and Corrupted Albion. Now, without farther ado, allow'south get into it.
First Section: Defeat The Flocking Moguro
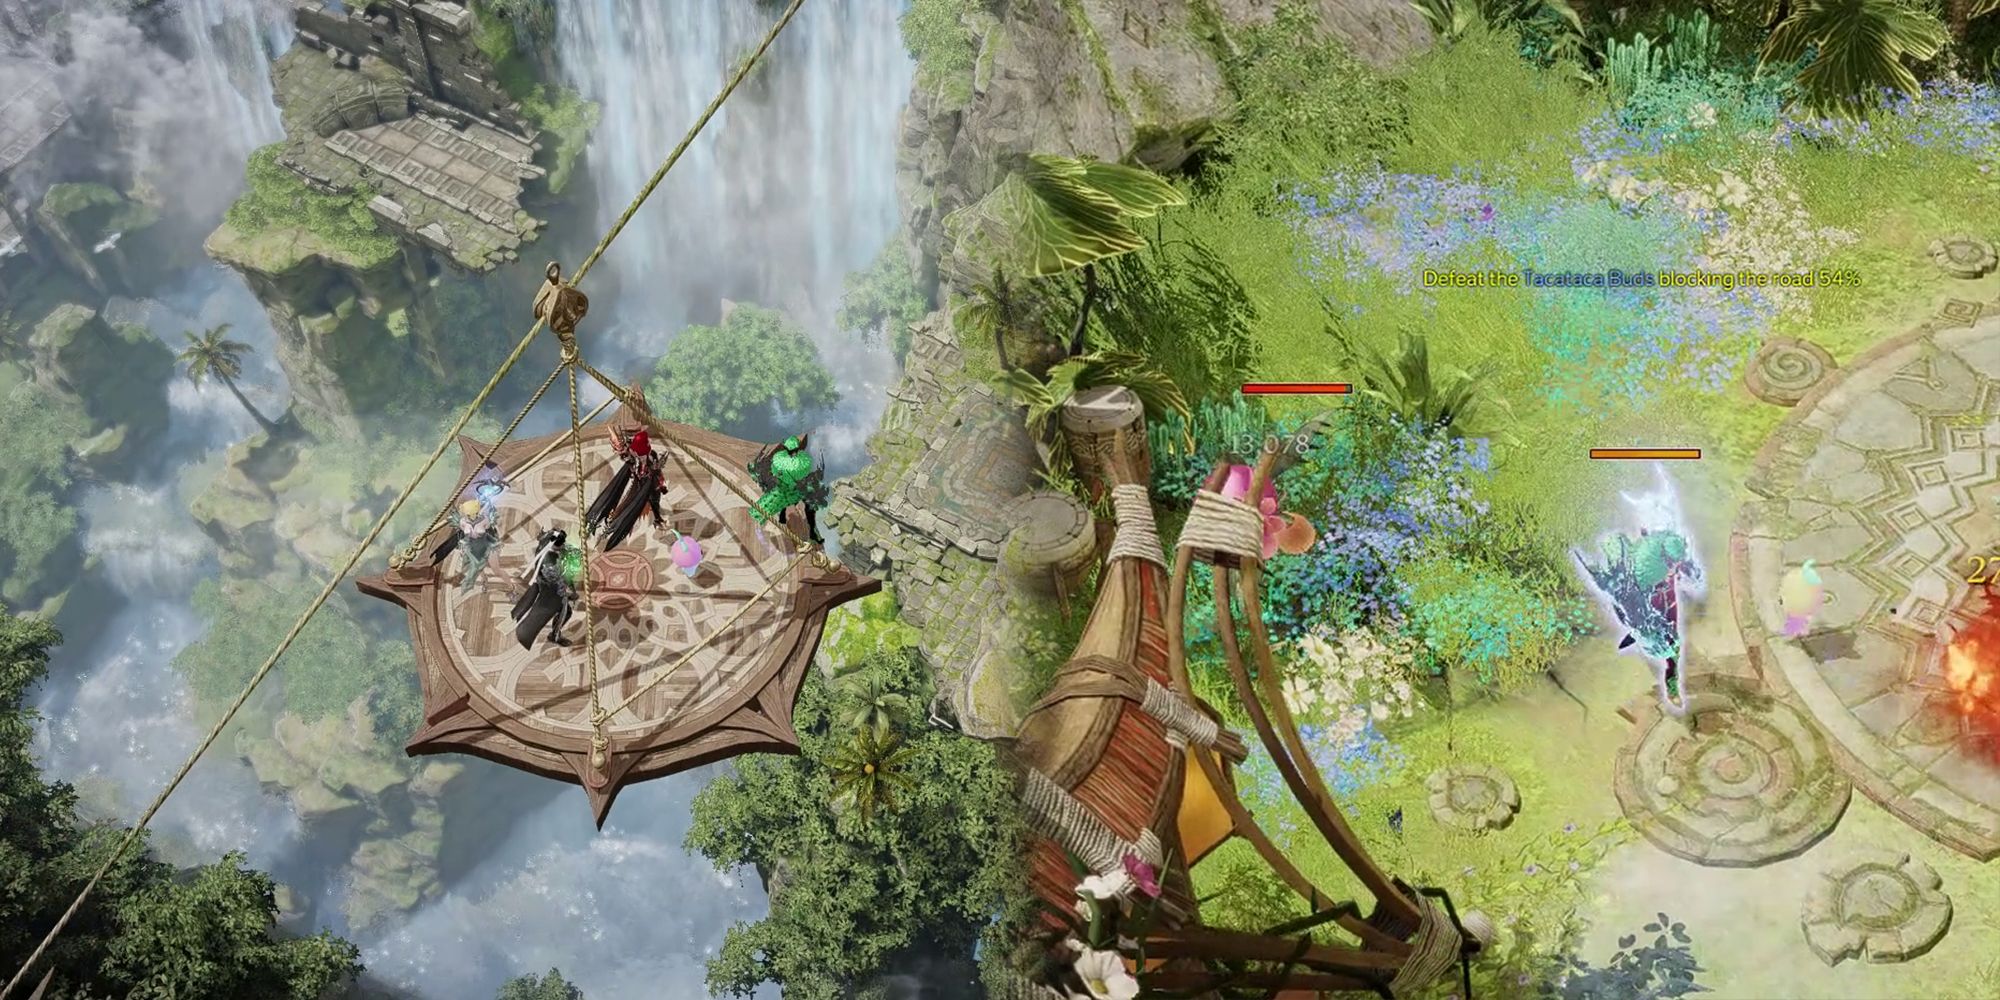
Showtime upward on the list of things Lost Ark players take to do to articulate this Dungeon it'southward...a scenic elevator ride? Most will likely recognize this from the Main Story Quest version of this Dungeon from the Punika Storyline equally the lift lets players off into a large mob of Tecateca Blooms
This is a pretty standard mob-clearing section that can be compared to whatsoever other Deep-sea Dungeon. Merely clear the mobs that spawn, as fast equally possible, and brand that giant leap to the checkpoint to load into the Angry Moguro Captain Boss fight.
Second Section: Angry Moguro Helm
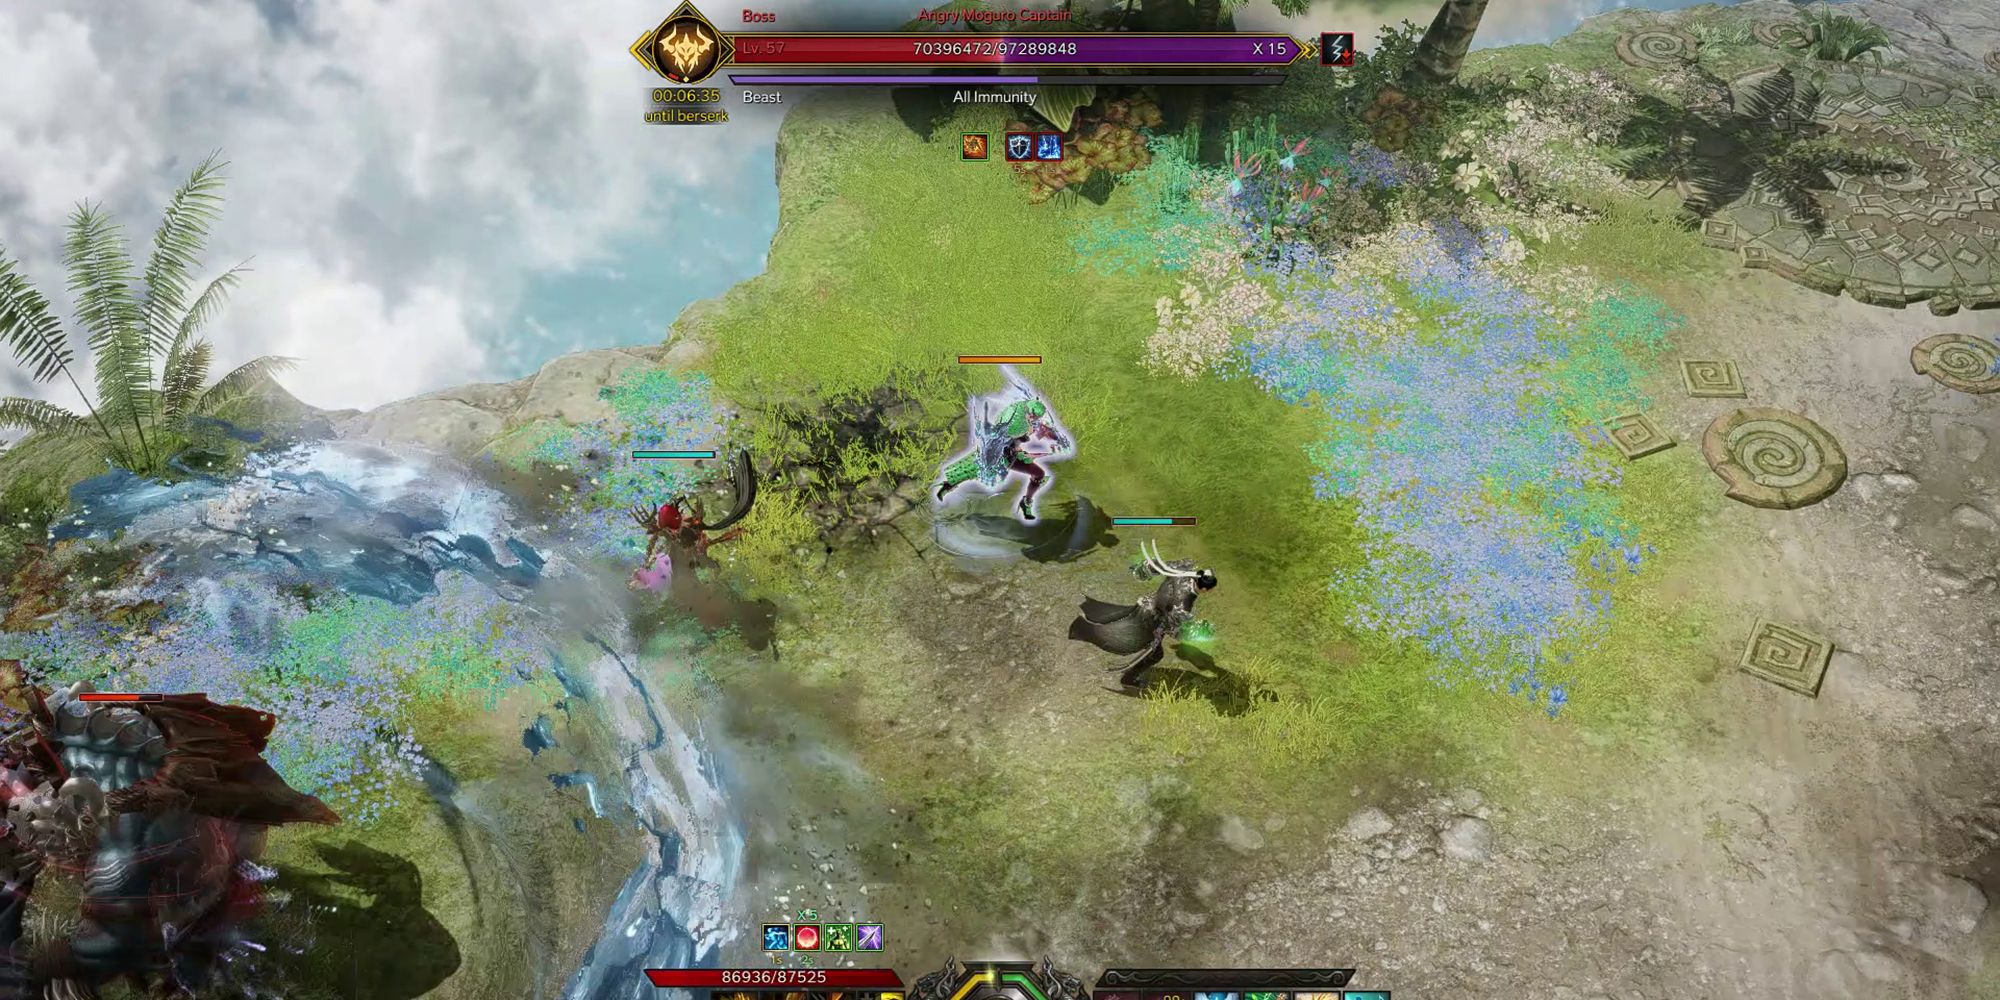
The confrontation with the Angry Moguro Captain, while pretty simple mechanically, is one where players need to especially go along an centre out to get through it cleanly. For example, players who take a expect under the Boss' HP Bar should discover right away that it starts with two Buffs. One is an attack buff that gives it xx percentage more set on until the first time it's Staggered (then the Vitrify disappears).
The other is a constant Buff that causes any thespian to get stunned later they've been hit by three of his attacks in quick succession. Other than that, the just other real "mechanics" players have to worry about are his Firey Arena, his Upgraded Spin Set on, and the Totems that get spawned from time to fourth dimension.
| Important Mechanic | Description |
| Firey Arena | The Moguro Captain fight can exist basically broken down into two different "phases" or "states":
|
| Upgraded Spin Assault | This Spin Assail is just a basic set on that the Moguro Captain can utilize. But, because it very commonly leads to a Wipe, information technology deserves some special attention. The Moguro Captain already has a default Spin Attack that is denoted past the crimson telegraph circle it puts on the ground straight beforehand. And, while this Spin Assault tin practise some serious damage, it'due south nothing compared to the Upgraded Version. In order for players to tell when this Upgraded Spin Assail is coming, they need to sentinel out for when the Moguro Captain "roars" to the sky, similar to Cicerra from the previous Dungeon level. Later on this roar, The Captain starts spinning, and by this point, players should already be in the Firey Loonshit getting as far away as possible. Once the spin is over, players are free to become back to the safe zone effectually the Helm and keep the fight. However, if whatsoever player got caught in the Spin and subsequently Stunned (thank you to the Captain's innate 3-Hit Vitrify), this Spin Attack gets an extra finisher Shockwave that near covers the entire arena and does massive damage. So, to be blunt, if any player sees this Spin Assault coming, get equally far away as possible until it's clear the attack is completely over, fifty-fifty if that means tanking a bunch of Burn down Debuff stacks. |
| Totem Summons | Frequently throughout the fight with the Angry Moguro Captain, Totems are spawned that tin can be seen as red dots on the minimap. While these Totems aren't anything that tin can atomic number 82 to the political party being Wiped, they can buff the Moguro's damage or reduce the harm it takes depending on if they're Ruby or Black. Additionally, this Buff tin stack up depending on how many of the Totems are spawned, simply thankfully they do automatically disappear during the Firey Loonshit. For whatsoever thespian that chooses to destroy them, effort and run to the rest of the team direct after destroying information technology. A few seconds after any Totem is broken, the person who got the last hit will be Imprisoned and must exist hitting by their teammates a number of times to break costless. With this in mind, designate 1 player as the Totem destroyer or at the very to the lowest degree make sure one person isn't breaking Totems because if the whole team is Imprisoned, it's essentially a Wipe anyway. |
Regular Attacks
Considering nigh players are simply just worried about DPS'ing the Moguro Captain down in time before it has likewise many opportunities to use its Upgraded Spinning Attack, at that place's a big percentage of Lost Ark's player base of operations that know nothing virtually most of Moguro Captain'due south moveset. To rectify this, let's go over all the attacks now:
| Proper name | Description |
| Spin Assail | The bones variant of the Moguro Captain'southward Spin set on. Has a reddish telegraph on the ground with a pretty brusque range. High harm, simply like shooting fish in a barrel to avoid. |
| Chest-Pounding Counter | Most players don't even know that this mechanic/attack exists, and it'south why they were suddenly killed with no warning. Basically, the Moguro Helm starts chirapsia its chest like a Gorilla would for a few seconds. During this period, don't attack it. If the Captain receives enough damage while doing this, it'll counter-attack with a big AoE Axe Slam that does high damage. |
| Charge Assail | The Dominate crouches down, bracing for a forward leap. Information technology then does this brusk spring before chop-chop charging forward a long distance in a sort of "shoulder-bash". Has a large Counter window when it first starts this attack. |
| Geyser Overheads | Tends to use this attack while the Fiery Arena is in effect as it's harder to contrivance. The Helm briefly lifts the Axe overhead before slamming it down on a random player, sending a line of water exploding forwards, as well as causing two or so small circles close to the line of h2o to explode upward like a Geyser. Deals moderate damage and knock-upwards if a player is hit by whatever office of this assail. Can use it 3 times in quick succession or just once. |
| Moving Telegraph Axe-Attacks | Moguro Helm also tends to use this assail near the latter one-half of the fight while players are trapped in the bubble-shaped safe zone with information technology. The Captain holds its Axe overhead, winding upward for a swing, and "shiny" telegraphs appear underneath that follow the players in their movement. Right before the attack goes off, these telegraphs "lock" in place, which is the window for players to dodge and really escape the attack. Like the Geyser Overheads, can utilize this multiple times in quick succession. |
| Axe Throw & Charge | The Boss winds up that chucks its gigantic Axe forward into the ground before shoulder-bashing towards it to retrieve the weapon. |
| General Swipes & Overhead Slams | Moguro Captain has a variety of general horizontal and vertical Axe slashes, about of which have that same watery trail behind them. |
| Uppercut Axe-Slash | Essentially the Moguro Captain does a sort of "uppercut" slash with its Axe, dragging it on the ground leading up to the actual hitting. The uppercut as well sends lines of water forrad that knock players upwardly, similar to the Geyser Overheads. |
Final Department: Corrupted Albion
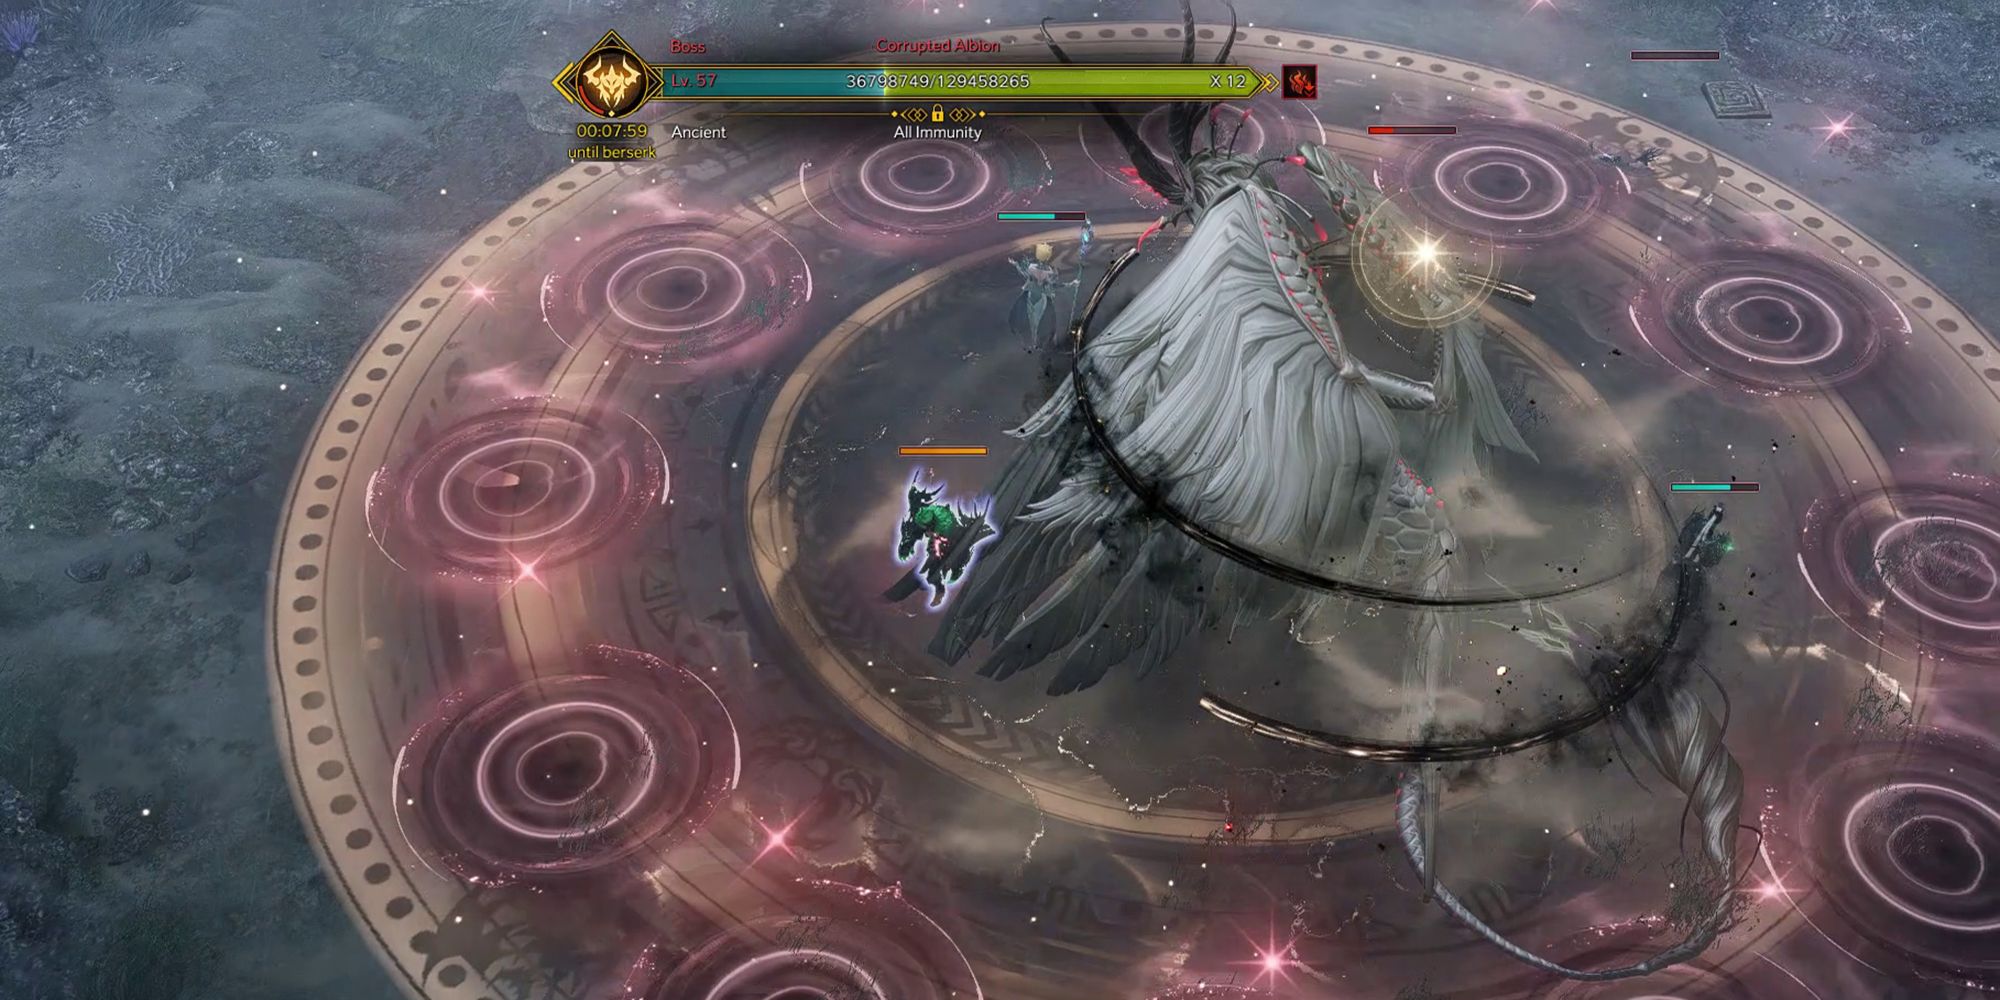
Here it is, the terminal Boss of the Tier 3 Abyssal Dungeon, Albion. Oddly enough, Oreha Preveza merely has three sections instead of the default four, making it a function of the easier endgame content, at least in terms of fourth dimension. For those who were skipping every Cutscene, Albion is one of the only friendly Guardians seen in Lost Ark'southward current story and is as well the NPC players trade their Omnium Stars into. Simply, this Albion is currently Corrupted past Demonic Free energy and isn't in full command of its actions.
Considering of this, players become to see what this Guardian is capable of, which is quite a lot. Taking a page from Seto's book or fifty-fifty Drakhan's from the Tranquil Karkosa, Albion has tons of different important mechanics players need to learn earlier heading into the fight, so let's not waste any more time and get started going over them all.
| Important Mechanic | Description |
| Earth, Lightning, & Enraged Forms | Albion has three different "Forms" information technology tin exist in at the showtime of the fight, likewise equally switch between due to a failure or passing of its Stagger Bank check. These iii forms are World, Lightning, and Enraged Form. Now, in [Normal] mode, Albion tin can only outset in either its World or Lightning Forms, but in [Hard] mode it always starts in Enraged. In whatever case, each form has unlike Regular Attacks, besides as unique mechanics that Albion will only unleash in that specific Form. |
| Stagger Check | The Boss' Stagger Check unremarkably happens somewhere between 60 and xc seconds into the fight and is where Albion transitions into its Enraged Form if the party fails to pass information technology. Thankfully, this Stagger Check doesn't lead to an immediate Wipe, equally it'southward by far the most difficult Stagger Check to clear among all the Deep-sea Dungeon encounters. It'due south visually denoted by Albion stopping in place, getting into a solid stance, and showtime to channel energy from the surroundings, seen by wind getting pulled toward it and an orange Stagger Bar actualization underneath information technology. If cleared in time, players prevent Albion from going into its Enraged grade, and instead, it only switches to its other default grade (from Earth to Lightning, or vice versa). |
| Whirlwind Retention Game | Can merely happen in Albion'southward Earth Form: Albion creates a ruby telegraph that covers the entire arena with a large circle in the center being the just safe zone. Shortly after, Albion flies up into the sky and the carmine telegraph becomes a vicious windstorm that volition almost instantly kill any actor still standing inside. So, after virtually five seconds or and then, four red telegraph patterns are shown within the safe zone circle in sequence. These are the upcoming attacks that Albion will use, one after another. Players demand to memorize the safe zones for each attack, which are either center, top, or bottom and move to stand where the first safe zone will be. Albion will then commencement swiping at the safe zone with its claws in the exact pattern seen in the red telegraphs. After each swipe, players need to immediately move to the side by side safe zone, as these attacks come fast and exercise immense damage. |
| Lightning Storm Wipe Mechanic | Can only happen in Albion's Lightning Form: Albion flies off-screen in a similar manner to the Whirlwind Memory Game, only then starts to southpawn star-shaped red telegraphs underneath each histrion. At the aforementioned time, ruby-red electric orbs also spawn that commencement to follow each player individually. The goal hither is to avoid the lightning strikes that come up from the red telegraphs also as avoid the blood-red electric orbs that stun and bargain damage on-hit. After a short duration, the Boss spawns a small rubber zone somewhere in the arena that all players demand to immediately get in. If even ane actor doesn't make information technology in time earlier Albion attacks, the whole party is wiped. Information technology'southward basically a more difficult and less forgiving version of Akam's Wipe Mechanic from the Sea of Indolence. If everyone made it, the same mini-game happens two more times before Albion finally comes back down and the fight continues. |
| Angles of Protection Wipe Mechanic | One time Albion gets to 12 remaining HP Confined or lower, they'll wing to the center of the loonshit. Afterward landing, Albion volition go into a sort of "crouched" stance and a star-shaped pattern will appear in the air to a higher place where its wings meet its dorsum. Additionally, a big ornate circle of light will appear with a variety of small circles along its circumference, each circle having a similar (just not the same) star pattern higher up them. Players are meant to identify the pattern above Albion's wings and then stand in the smaller circle with the same exact pattern floating above information technology. Each circle can only fit i player, and there will always be at least four smaller circles with the correct pattern. Ordinarily, players use the number of "prongs" each star shape has in gild to quickly identify information technology and move to the correct condom zone. For reference, there's a 4-prong, 6-prong, and viii-pronged star that can appear above Albion'south wings. Each safe zone will have text appear that says how many "Angles of Protection" this circle offers, AKA 4, 6, or viii. Afterward a few seconds, Albion releases a Shockwave that instantly kills anyone not continuing in the correctly patterned safe zone and so has a unlike star blueprint appear in a higher place his wings, repeating the aforementioned mechanic two more than times for a full of three Shockwaves overall. Some important things to notation virtually this specific mechanic:
|
Regular Attacks
Outside of all those crazy mechanics, Albion too has quite a lot of hard-to-dodge regular attacks equally well, with some that are only used in specific forms. Every bit always, the golden rule of "avert the blood-red" applies here so that players don't accept to memorize every set on and can just proceed this in heed to survive. Only, for the dedicated players who want to perfect this see, here are all the regular attacks as well:
| Attack Name | Description |
|---|---|
| Foreleg Stomp | Albion rears back briefly, creates a pocket-sized ruby-red telegraph directly in front of it, and so slams down onto this red telegraph. |
| Hook Swipe & Spin | Albion swipes forrard with ane of its front claws, staggering on hit, before doing a full spin assail that as well staggers and deals moderate harm. |
| Lightning Projectile | The Boss jumps backward and hovers in the air flapping its wings for a 2d or two before "breathing" out lightning onto the ground in a crescent shape. Players can but quickly follow Albion's backward bound and stick close to it to avoid this assail. |
| Lightning Summon | Albion flaps its wings and then raises its caput toward the heaven while a bunch of quickly-filled blueish telegraphs appear randomly effectually the arena. When filled, lightning strikes in these telegraphs, dealing moderate damage and inflicting the "Scarring Lightning" Debuff. Tin also spew lightning jiff directly in front end of it as well after this animation. |
| Star-Shaped Lightning Summon | With the aforementioned blitheness equally the Lightning Summon Attack, Albion summons two five-pronged star-shaped telegraphs that quickly turn into deadly lightning strikes. Albion can as well summon this attack and the Lightning Summon using the same animation. |
| Total-Circle Tail Swipe | Albion creates a large circular ruddy telegraph with a small condom zone directly in the eye before doing a full 360-degree tailspin, dealing moderate impairment and knock-up to anyone hit. |
| Fan-Shaped Slash Assail | The Boss creates 9 separate lines of red telegraphs that spread outward from a central betoken in a fan-shaped formation. Once filled, Albion slashes, dealing moderate damage to players on-striking. Be enlightened that a player that is at the starting point of this attack can get hit with all 9 lines at one time, which can easily insta-kill. |
| Half-Loonshit Wide Slash Attack | A gigantic bright cherry telegraph appears and fills about one-half of the arena. Albion and then jumps over into the telegraph earlier unleashing a large slash attack that covers this whole telegraph. Can be used individually or combo into its Inescapable Combo. |
| Inescapable Combo | Albion uses a diverseness of different Foreleg stomps, Multi-line Slash attacks, Half-Loonshit Wide Slash Attacks, and finally a Jump Set on all in a row. Considering the telegraphs for these attacks all happen in quick succession and encompass more basis than many players can get across in time, it's very difficult to avoid every hit of this attack, particularly the Bound Attack at the finish. |
| Conical Forleg Stomp Shockwaves | Albion rears up as if it was doing a Foreleg Stomp, but instead, some very feint conical-shaped lightning patterns are seen on the ground around it. Avoid these areas, as these are the Shockwaves Albion is about to summon when stomping. It'll do this 2 to iii more than times in quick succession. |
These aren't all the attacks that Albion can employ, and some of them are exclusive to specific Forms while others tin exist used in any Course. This Boss has so many attacks it tin employ that it's incredibly difficult to keep rails of them all. Thankfully, the tried and true Combat exercise of attacking the Boss' backside works hither besides, as this Boss doesn't have a lot that hits directly behind it.
Differences Between Normal & Hard Oreha Preveza
Now, players might be scared to even consider attempting Oreha Well'due south [Hard] Mode, considering how much of a challenge it is to beat the [Normal] version the first time. Thankfully, there'southward not all too much of a difference between the two difficulties, and in that location aren't any actress mechanics players have to remember. But, simply so players accept all the information needed, here are all the differences between the two modes.
- Hard Mode is locked behind Detail Level 1370 minimum (expert luck with Honing).
- There are different Material drops in Hard Mode that build into Legendary Form 1370 Gear as well as similar Item Level Accessory Rewards.
- Both [Normal] and [Hard] Manner share the same archway counter, meaning that if a player has already cleared Oreha's Well on [Normal], they won't be able to attempt the [Difficult] mode until after Weekly Reset.
- In general, Bosses are merely a little tankier and practise a proficient clamper more than damage to players with all attacks.
- For case, Moguro Captain's Upgraded Spin Attack is nigh a 100 percent i-shot KO if a actor gets stuck in it on [Hard]
- Lastly, instead of starting in either Lightning or Earth Course, Albion e'er starts in its Enraged Country when on the [Hard] difficulty.
Recommended Consumables & Engravings
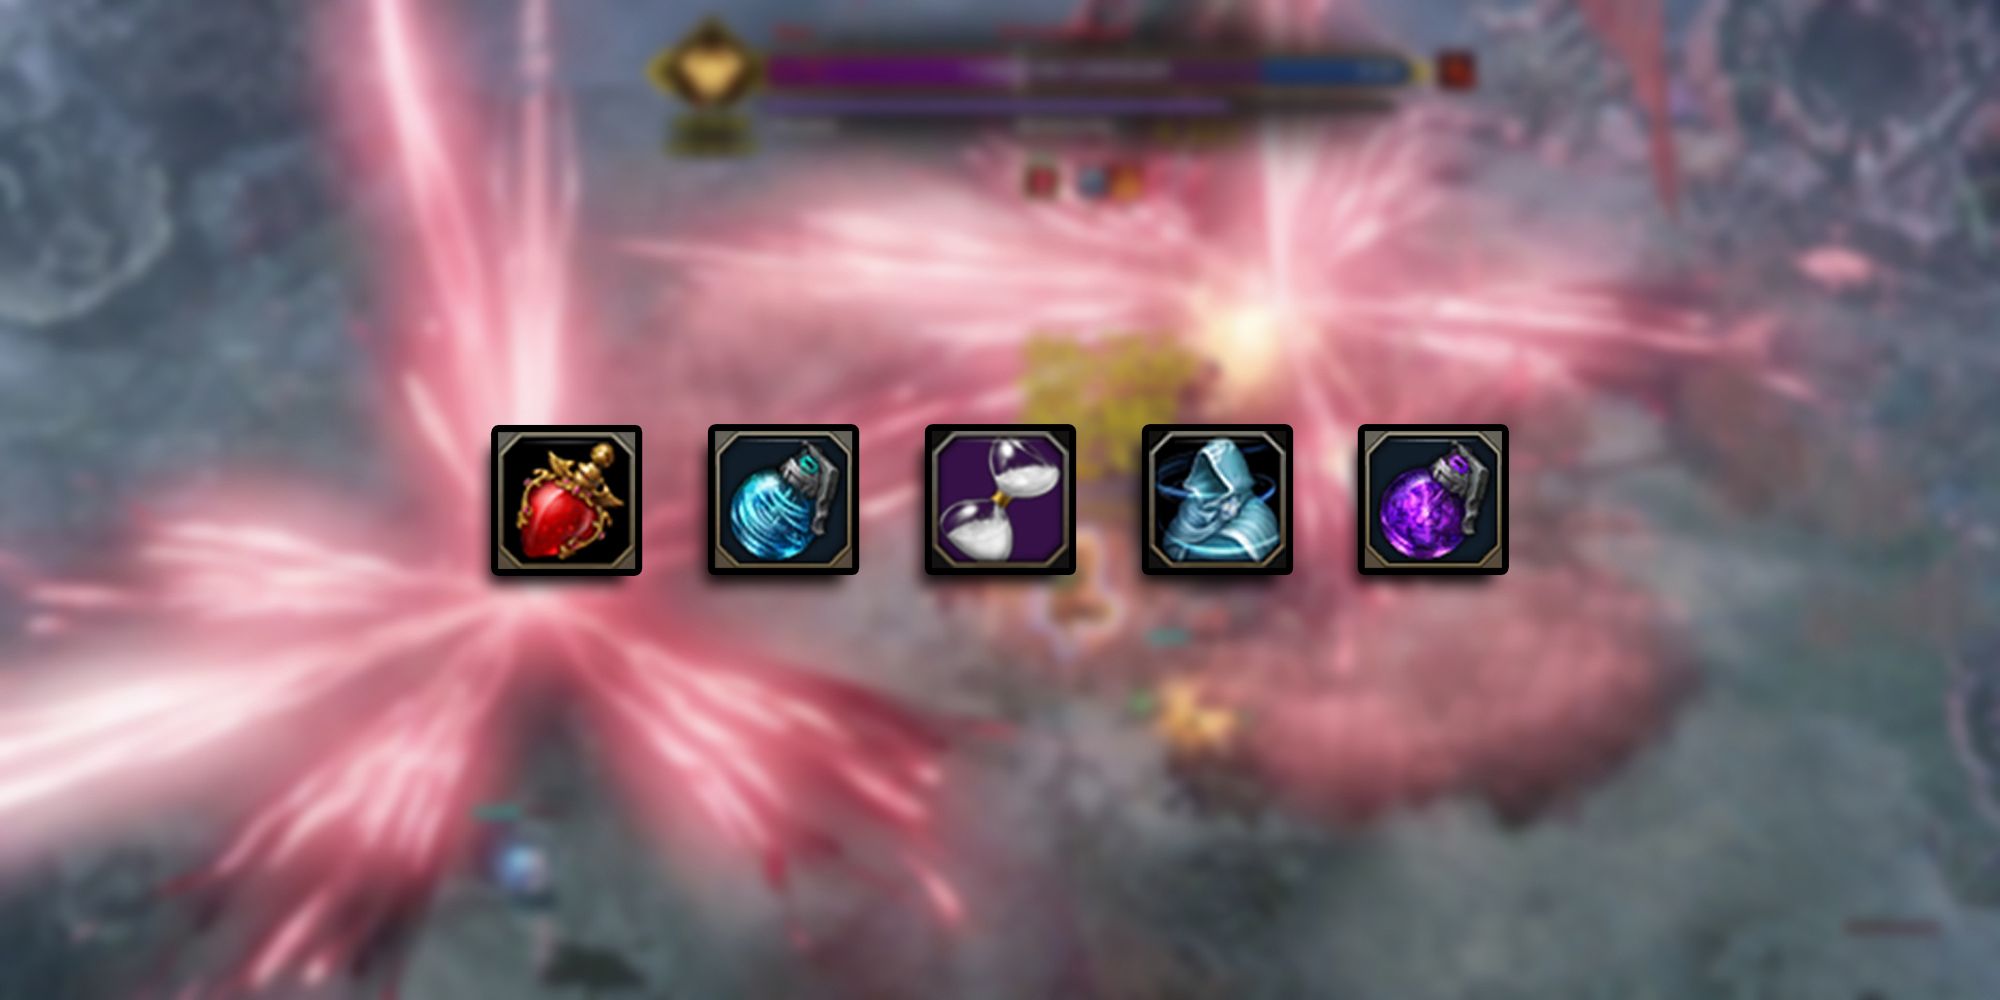
Thankfully, even though Oreha Preveza has some complex mechanics, it doesn't require a bunch of dissimilar Consumables to clear reliably. In full general, players might just want to consider:
- Manifestly, they want to bring HP Potions, more specifically Elemental HP Potions since they allow for ii more heals for a full of seven.
- Cyclone Grenades are a must for Albion's Stagger Check and can even exist used to get rid of Angry Moguro Captains harm buff fifty-fifty quicker.
- Time Stop Potions are a good "last resort" for some of the more than challenging mechanics, such equally Albion's Lightning Storm or Moguro Captain's Upgraded Spin Assail.
- Marching Flags or Swift Robes are too very helpful for Albion'south Whirlwind Memory Game simply like they helped out a lot in the Route of Complaining'south Najjar fight.
- While neither Boss can exist cleared all besides quickly, Dark Grenades never hurt and make the fight take a bit less fourth dimension overall.
- And of course, as ever, players should accept many of the Skill Signal Potions already collected and their Raid Class Setup equipped with regard to their Gear, Faceted Power Rock, Engravings, and Accessories.
Lost Ark is currently available on PC.
Source: https://gamerant.com/lost-ark-oreha-preveza-abyssal-dungeon-raid-guide/
0 Response to "Abyssal Dungeon Reset Lost Ark"
Post a Comment